
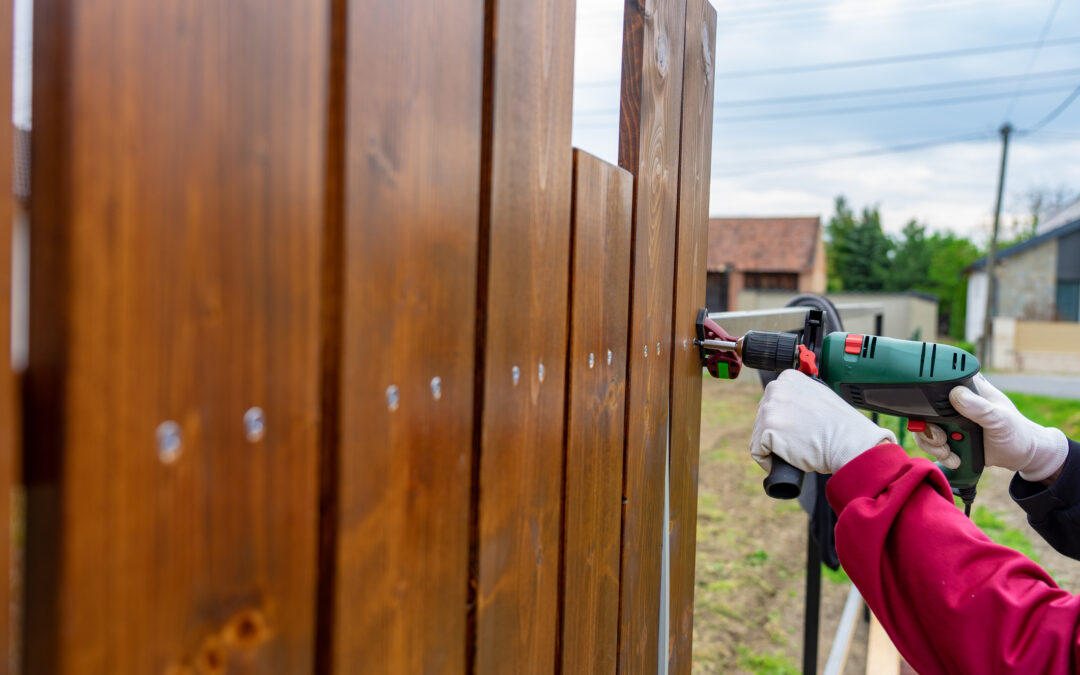
A well-installed fence can transform your garden, providing privacy, security and a neat boundary for your property. Whether you’re replacing an old fence or installing one for the first time, understanding the process can help you achieve a professional-looking result.
This garden fence installation guide takes you through the key stages of the project, from planning and preparation to the final finishing touches. While many homeowners choose professional fence installation in the UK, this guide is useful for anyone wanting to understand the process or tackle a DIY project themselves.
Before You Begin: Planning Your Fence Installation
Before purchasing materials or picking up your tools, it’s important to plan your project carefully.
Check Property Boundaries
Ensure you know exactly where your property boundaries lie before installing a garden fence. If you’re unsure, refer to your property deeds or discuss boundary positions with neighbours to avoid disputes later.
Check for Underground Services
Before digging any post holes, make sure there are no underground cables, pipes or drainage systems in the area. Using a cable and pipe detector can help prevent costly damage.
Consider Height Restrictions
In most parts of the UK, garden fences can typically be erected up to two metres high without planning permission. However, restrictions may apply in certain locations, particularly near roads or listed buildings, so it’s always worth checking with your local authority.
Choose the Right Fence
There are various fencing styles available, including:
- Close-board fencing
- Feather edge fencing
- Decorative panels
- Slatted fencing
- Composite fencing
- Metal fencing
The best choice will depend on your budget, privacy requirements and the style of your garden.
Tools and Materials You’ll Need
Before starting your DIY garden fence installation, gather the necessary equipment:
Tools
- Tape measure
- Spirit level
- String line
- Spade or post-hole digger
- Hammer
- Saw (if required)
- Drill and screws
- Safety gloves
- Safety glasses
Materials
- Fence panels or boards
- Fence posts
- Gravel boards
- Postcrete or concrete mix
- Fixings and brackets
- Timber treatment (if using timber fencing)
Step 1: Measure and Mark Out the Fence Line
Accurate measurements are essential for a successful fence installation.
Use stakes and string to mark the route of your fence line. Measure carefully and identify where each fence post will be positioned. Most fence panels are 1.8 metres (6ft) wide, so post spacing should reflect the panel size being used.
Double-check all measurements before moving on to the next stage.
Step 2: Dig the Post Holes
The strength of your fence largely depends on the quality of the post installation.
As a general rule, fence posts should be installed at least 600mm deep, although deeper holes may be required for taller fences or exposed locations.
Dig each hole wide enough to accommodate the post and the concrete surrounding it.
Step 3: Install the Fence Posts
Position the first post in the hole and use a spirit level to ensure it is perfectly vertical.
Pour Postcrete or concrete around the base of the post, following the manufacturer’s instructions. Check the post remains level while the concrete sets.
Repeat this process for each post, ensuring consistent spacing throughout.
Allow the concrete to cure fully before attaching any panels.
Step 4: Fit Gravel Boards
Gravel boards sit at the bottom of the fence and help protect timber panels from moisture and ground contact.
Attach the gravel boards between the posts before fitting the fence panels. Concrete gravel boards are particularly popular as they provide excellent durability and require very little maintenance.
Step 5: Install the Fence Panels
Once the posts are secure, lift each fence panel into position between the posts.
Depending on the fencing system, panels may slot into post channels or be fixed using brackets and screws.
Check each panel is level before securing it permanently.
Continue along the fence line until all panels have been installed.
Step 6: Secure and Finish the Fence
Inspect the fence thoroughly and tighten any fixings where necessary.
If you’re using timber fencing, apply a suitable timber preservative or stain to help protect it from the British weather. Many modern treated fence panels arrive pre-treated, but regular maintenance will help prolong their lifespan.
Common Mistakes to Avoid
When installing a garden fence in the UK, avoid these common issues:
Incorrect Post Spacing
Posts positioned too far apart can result in weak or poorly fitting panels.
Shallow Post Holes
Insufficient depth can cause fences to lean or become unstable over time.
Failing to Check Levels
A fence that isn’t level can look untidy and may place additional stress on panels and fixings.
Ignoring Ground Conditions
Soft or uneven ground may require deeper foundations or additional support.
Should You Choose DIY or Professional Installation?
DIY garden fence installation can be a rewarding project for experienced homeowners. However, installing a fence can be physically demanding and requires careful measuring, levelling and groundwork.
Professional fencing contractors have the tools, experience and expertise to complete the work efficiently and ensure the fence remains secure and durable for years to come.
For larger projects, uneven ground or premium fencing systems, professional installation is often the most cost-effective solution in the long run.
Professional Fence Installation from Midlands Fencing Solutions
If you’re looking for reliable fence installation in the UK, Midlands Fencing Solutions provides expert fencing services tailored to your property and requirements.
From initial planning and material selection through to professional installation, our experienced team delivers high-quality workmanship and durable fencing solutions designed to withstand the British climate.
Contact Midlands Fencing Solutions today for expert advice and a free quotation for your garden fencing project.